
Manual: Replacing Runners for Treco or Spacemaker A67 Shed
Follow these steps to ensure your sliding door glides smoothly with new runners.
Step 1: Remove the old runner (if necessary)
In some cases, removing the old runner is not necessary, especially if it is already broken. However, it can be useful to take the old runners out of the rail, for example, if they are still stuck or if you want to replace all runners as a precaution.
Do you want to replace both runners of the sliding door? Unscrew the door from both runners and lift it out of the rail. This gives you more space and makes cleaning easier.
Possible ways to remove the old runner:
🔹 Break the runner with pliers (if possible).
🔹 Slide the runner to one side and leave it there – This may slightly limit the opening space but saves time.
🔹 Bend the metal slightly with pliers – This allows you to tilt the runner out of the rail (at your own risk).
🔹 For screwed sheds: If the panels are attached with screws (instead of rivets), you can loosen the front and side panels to slide the runner out of the rail more easily.
Good to know:
Our model is designed so that you can install the new runner in the rail without making any modifications to your shed.
Step 2: Installing the new runners
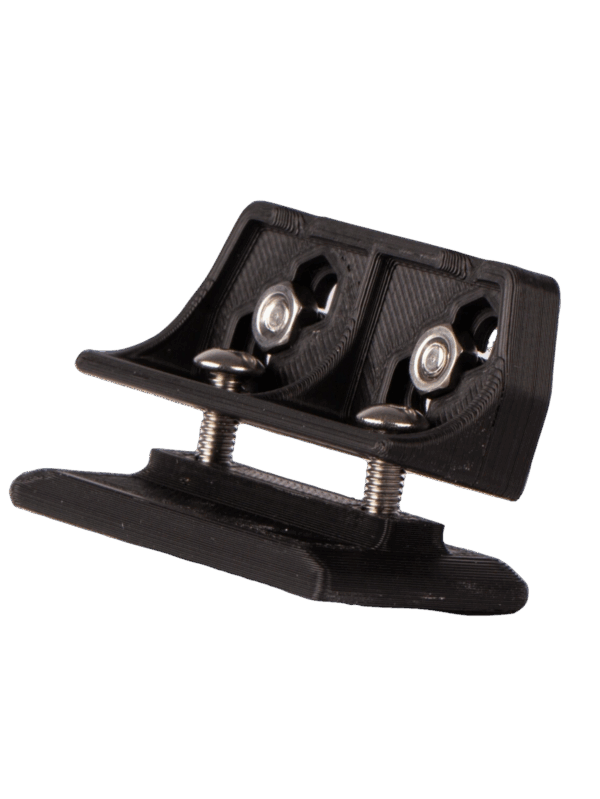
Our runner consists of two parts. How you install it depends on your situation.
🔹 Situation 1: The side of the shed is accessible
You can attach the two parts together beforehand and slide the runner into the rail from the end. Make sure the flat side with the six holes is on the inside of the shed.
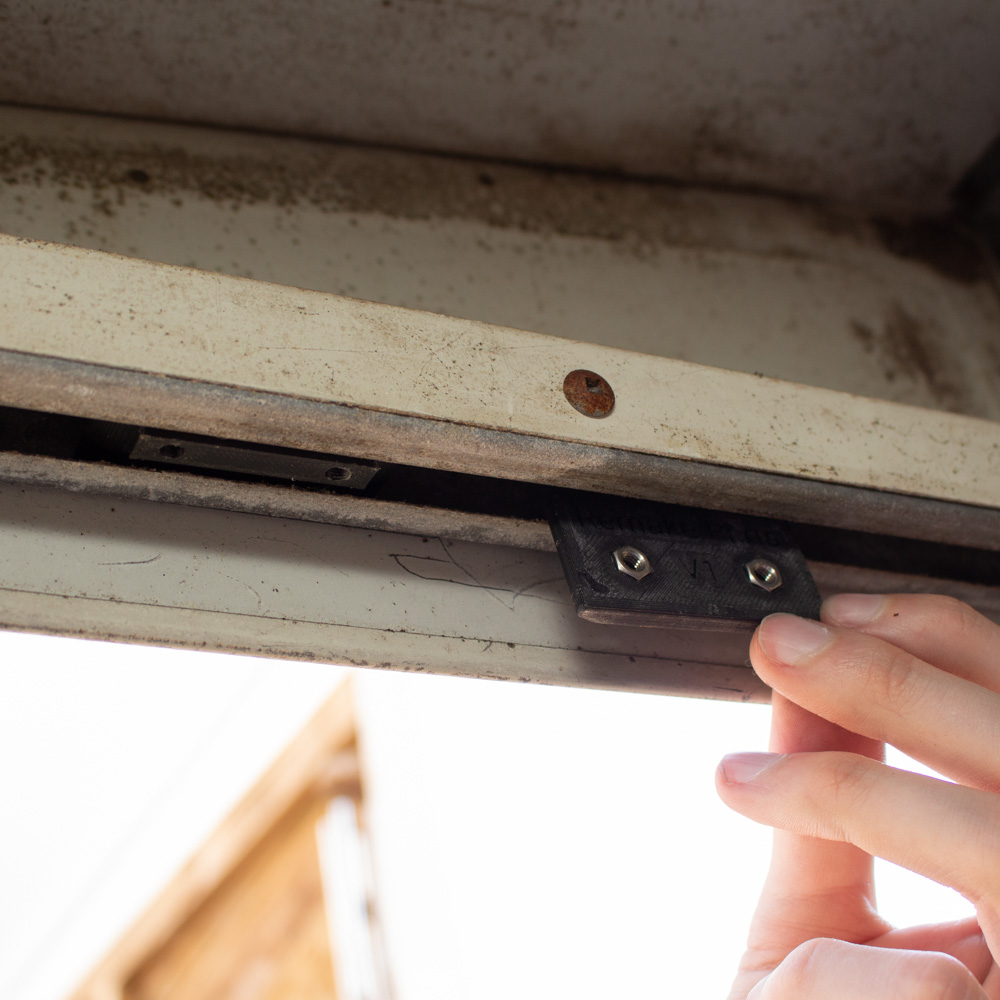
🔹 Situation 2: The side of the rail is not accessible
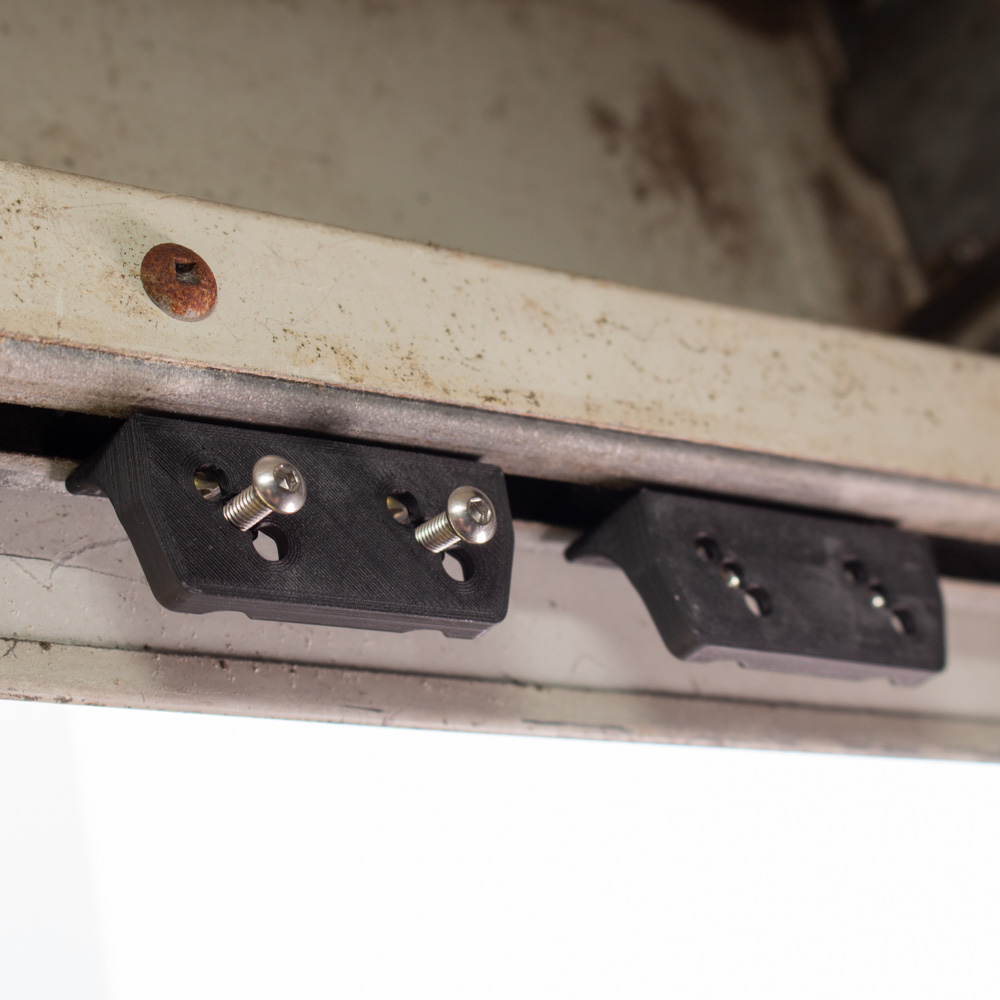
In this case, you need to insert the two parts of the runner separately into the rail:
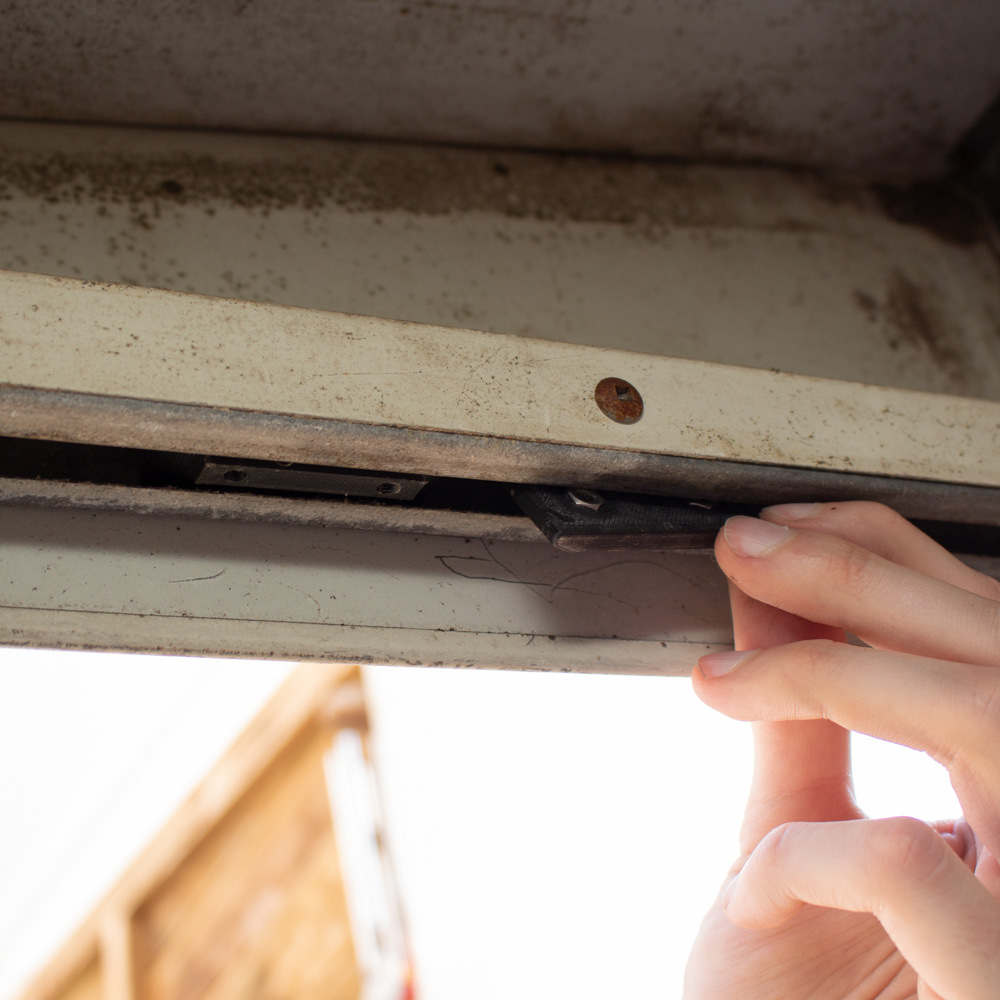
- Leave the nuts in the plates (this makes fastening them later much easier).
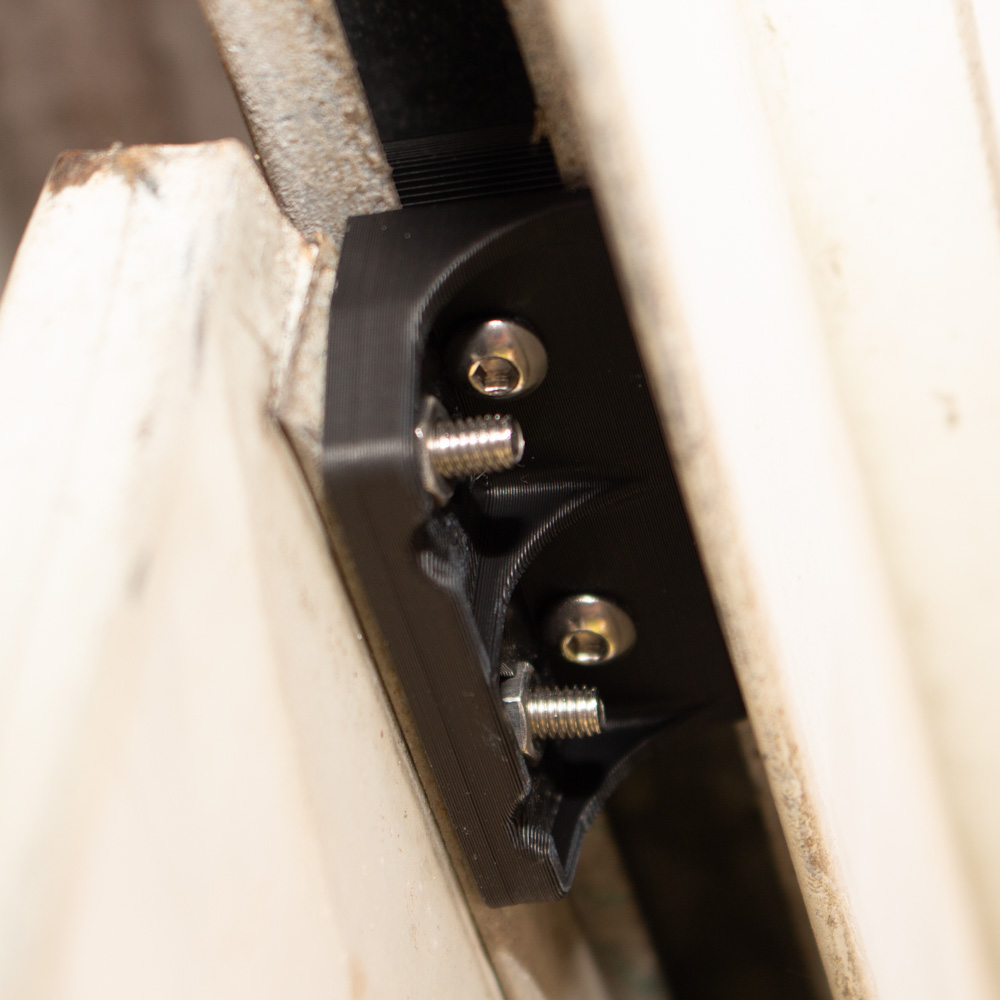
- Insert the flat plate diagonally into the rail with the nuts on top.
- Ensure that the protruding part with the two holes comes out at the bottom.
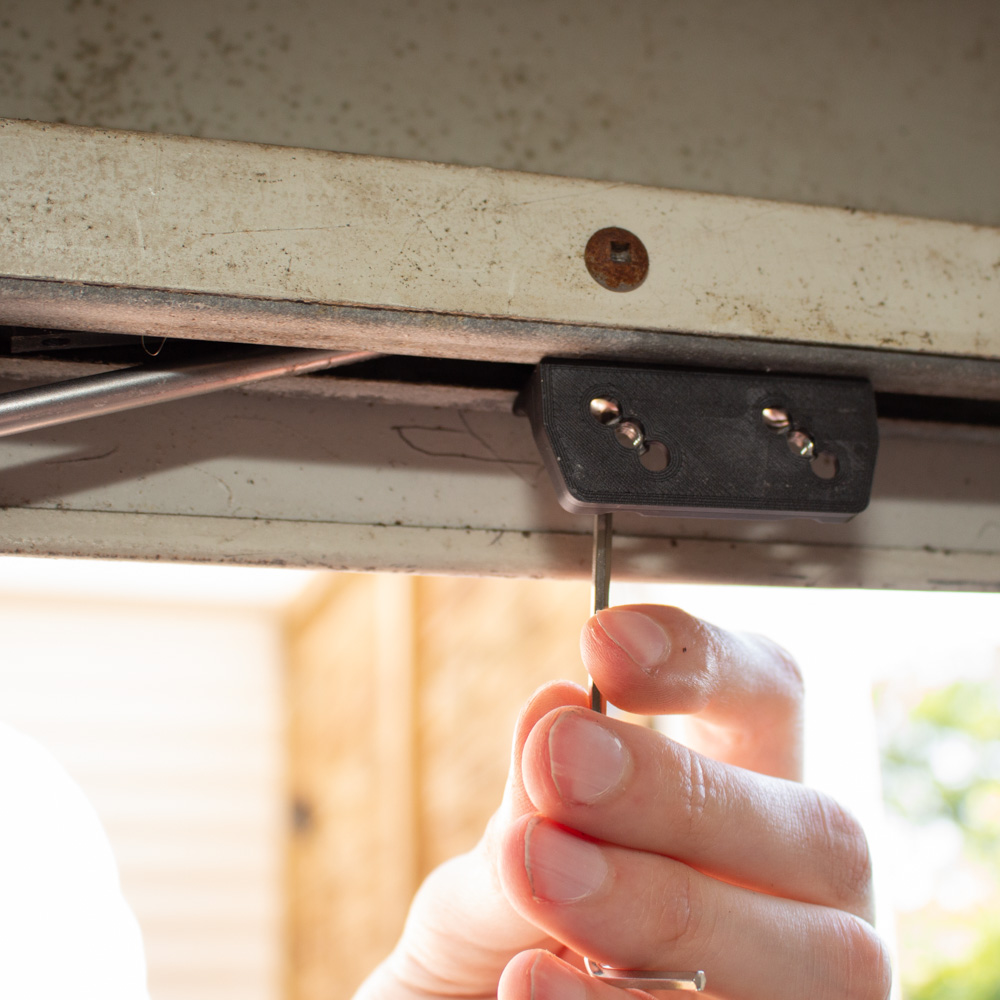
- Attach the second half of the runner and screw it into place.
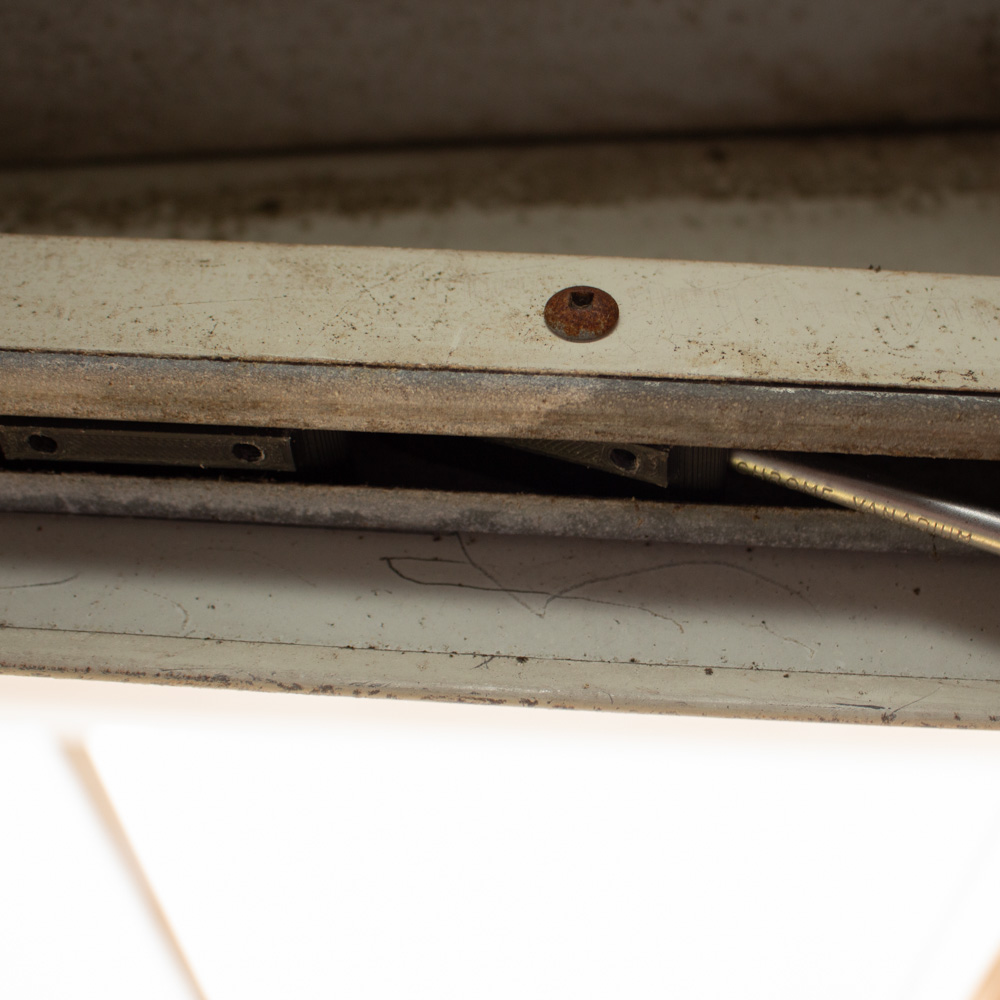
💡 Tip: This is easiest with an extra pair of hands but can also be done alone. You can use a long screwdriver above the plate to prevent it from pushing up.
🔧 Install all runners first before attaching the doors – this gives you better access to the mounting points.
Step 3: Attaching the doors
Now that the new runners are in the rail, the sliding doors can be mounted. It’s easiest to start with the outermost runners.
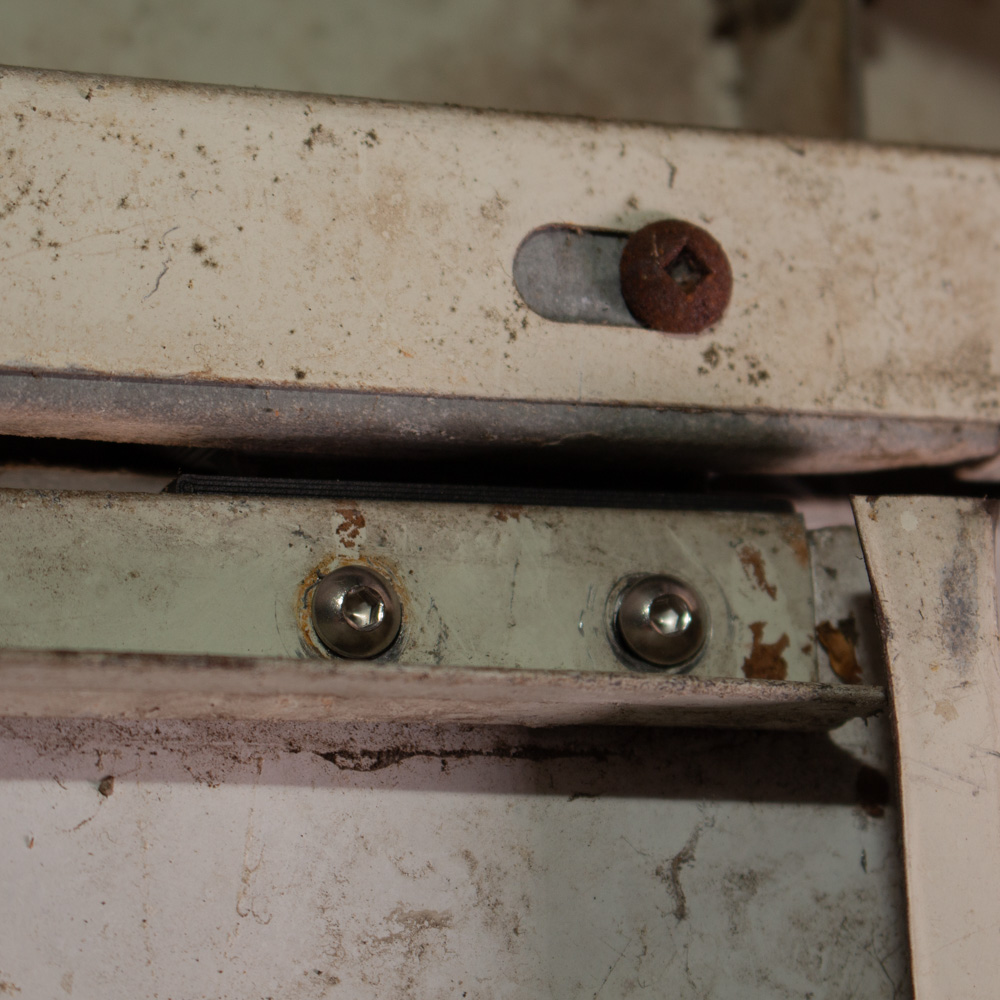
Two ways to secure the door:
✅ Method 1: The nut is already clamped in the runner. Lift the door slightly and screw the fastening screw into the runner from the inside.
✅ Method 2: Push the screw through the door hole first, then through the runner, and finally tighten the nut.
Adjusting the height
The door height can be set at three levels. In most cases, the middle position is perfect.
💡 Any questions? Feel free to contact us!
Order directly
-
Aanbieding!
Vervangende runner voor Spacemaker & Treco Schuurdeur A67 (60-0050)
€ 17,50 - € 39,95Prijsklasse: € 17,50 tot € 39,95 Opties selecteren Dit product heeft meerdere variaties. Deze optie kan gekozen worden op de productpagina